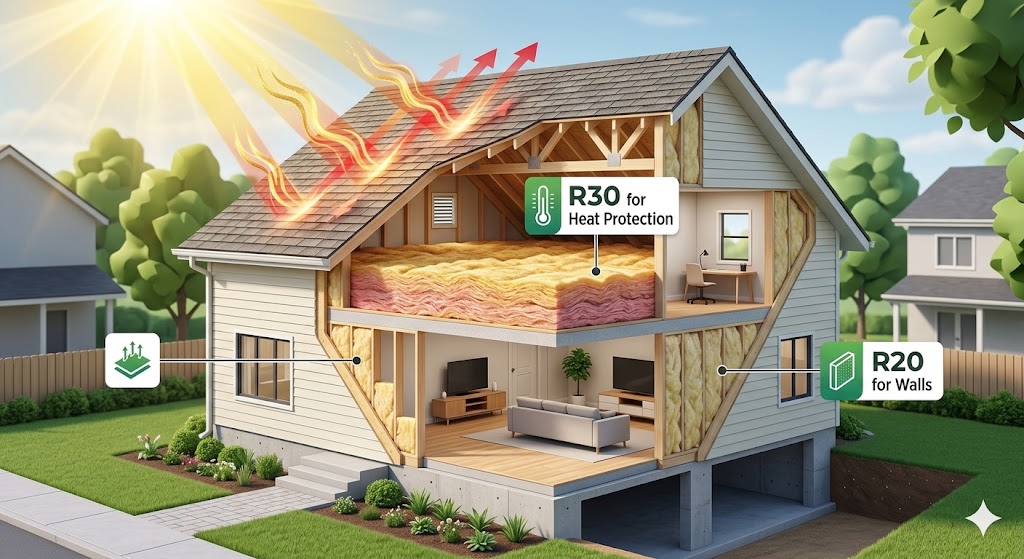


Many homeowners forget to insulate their attic doors, focusing instead on floors or other areas. This can leave the door uninsulated, causing significant heat loss in winter and heat gain during the summer. This increases your energy bills and makes your home less comfortable.
I learned this myself when I noticed cold air creeping into my living space. Proper insulation not only enhances efficiency but is a simple, cost-effective solution for an energy-saving project.
To tackle this issue, start by sealing the opening of your attic door. This will prevent warm air from escaping in colder months and keep the cool air inside during hot weather.
Following step-by-step instructions and using the right methods, you can insulate an unfinished attic or one with a poorly sealed roofline. Whether your attic has a stairway, pull-down stairs, or a hatch, there are resources and techniques to help.
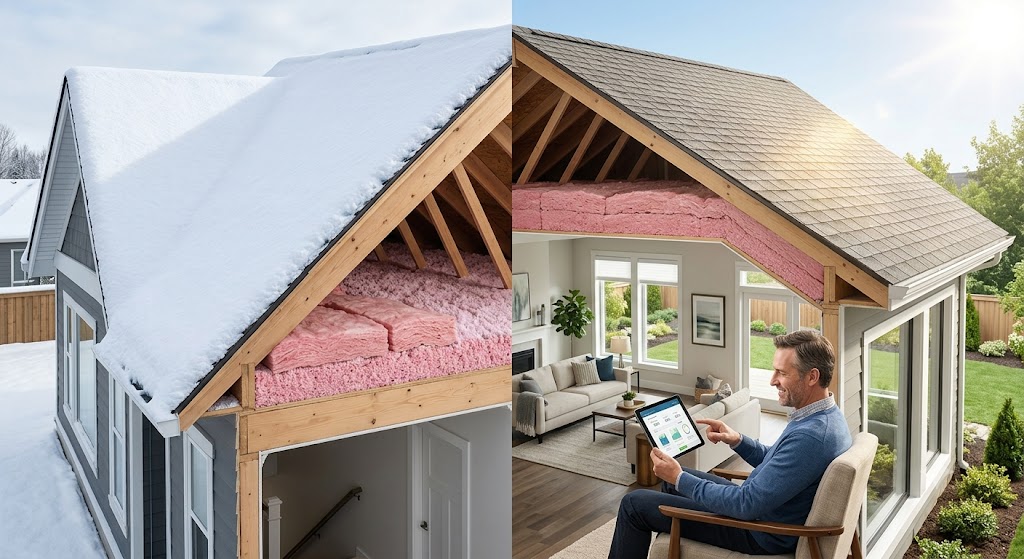
This effort can lower heating and cooling costs, protect the boundary between your second-story living area and the unconditioned space, and ensure a more comfortable year-round home.
How To Insulate Your Attic Door
Step-by-Step Guide to Insulating Your Attic Door
- Measure the dimensions of your attic door. Use a tape measure to accurately measure the door, ensuring you purchase the correct amount of insulation.
- Purchase insulation designed for attic doors. Look for materials like fiberglass or cellulose with an appropriate R-value for optimal performance, available at home improvement stores.
- Clean the attic door frame and surrounding area. Remove dust and debris to ensure a secure fit and proper air sealing when installing the insulation.
- Cut the insulation to size. Use a utility knife or scissors to trim the insulation slightly smaller than the door frame for a snug fit.
- Place the insulation in the door frame. Ensure the insulation is flush with the door and frame. Use a caulking gun to seal any gaps between the insulation and the frame.
- Install a weatherstrip around the perimeter of the door. This step prevents drafts and improves the overall seal.
- Attach a door sweep to the bottom of the door. This seals any remaining gaps between the door and the floor, maintaining consistent temperature in the attic space.
- Periodically check and maintain the insulation. Regularly inspect the area to ensure it remains effective, reducing energy bills and enhancing the comfort of your home.
By following these steps, you’ll create a more energy-efficient attic door, contributing to a significant improvement in your home’s comfort and energy savings.
Measuring Your Attic Door for Insulation
Before starting the process of insulating your attic door, it’s essential to take accurate measurements to ensure the best fit and avoid any complications during the installation. Begin by assessing the opening—measure its length, width, and depth, along with the height if you have folded stairs attached.
Paying attention to irregularities or obstructions around the door is also critical, as these may affect how well the insulation performs. From my experience, this level of precision might feel tedious, but it can save time and effort later on.
Once you’ve gathered your measurements, consider the type and amount of materials you’ll need. Depending on the structure of your attic door, certain types of insulation may work better than others.
For example, foam board insulation works well for flat surfaces, while weatherstripping can seal gaps effectively. By addressing these details at this stage, you can streamline the entire process and ensure your installation goes smoothly without wasting materials or creating unnecessary complications.
Types of Attic Doors & Insulation Challenges
Different types of attic doors present varying insulation challenges. Understanding these differences can help you choose the most effective method for your home. With several types of insulation available, knowing which is best suited for your needs is essential.
1. Pull-Down Stairs

Pull-down stairs are a common attic access type, but they pose unique challenges due to their moving parts and the need for clearance when opened. These factors make insulating them a delicate task requiring a custom approach.
Ensuring proper coverage while maintaining their usefulness can be tricky, and a tight seal is essential to prevent drafts from entering through gaps along the edges. These gaps can cause significant energy loss, but using specialized attic stair covers is an effective solution.
This approach addresses the issue efficiently while keeping the stairs functional.
2. Scuttle Holes
Scuttle holes are hatch-style openings in the ceiling that are relatively easier to insulate than pull-down stairs, but they still require careful attention. To achieve an airtight seal when closed, start by selecting the best material and pairing it with weather stripping for the appropriate fit.
A properly chosen insulation can block drafts and improve energy efficiency, ensuring the seal holds tightly around the openings for long-lasting results. This simple approach can make a big difference in maintaining a comfortable home.
3. Knee Wall Doors

Knee wall doors, often found in finished attics with sloped ceilings, are used to provide access to hidden storage areas. These doors need tight insulation that can withstand frequent use while effectively stopping air leakage.
To improve effectiveness, you can use a draft stopper, a latch, or other additional measures to ensure a secure seal. Proper insulation and sealing of these doors help maintain a comfortable indoor temperature and energy efficiency.
Best Material To Use
Each type of insulation has unique characteristics, along with its own advantages and disadvantages.
| Insulation Type | Cost/Sq. Ft. | Best For | Drawbacks |
|---|---|---|---|
| Spray Foam | $3.50–$7.00 | Airtight sealing | High initial cost |
| Fiberglass | $1.90–$2.50 | Affordable and versatile | Settles over time |
| Cellulose | $2.00–$3.00 | Eco-friendly | Moisture absorption risk |
To make the right decision, consider which material works better for the specific type of attic door in your home.
1. Spray Foam Attic Door Insulation
For areas where more advanced insulation is needed, spray foam insulation offers a highly effective alternative. This liquid foam expands upon application, filling crevices and forming an airtight seal. Its ability to create a seamless layer makes it ideal for difficult-to-access areas.
With its superior air sealing properties, spray foam not only minimizes air leaks but also improves the R-value and contributes to noise reduction. However, due to the specialized equipment required for its application, it’s best to choose professional installation.
While it can be more expensive than other methods, its long-term benefits in energy efficiency and performance often justify the investment.
2. Fiberglass Attic Door Insulation
Fiberglass insulation is a fluffy material made of fine glass fibers that are spun together. Available in batts or rolls, it is easy to install and offers excellent thermal resistance and affordability. Its advantage lies in its excellent properties for reducing heat transfer while being resistant to mold, moisture, and fire.
However, during installation, it may irritate the skin or respiratory system, so using protective gear is essential. Properly installed fiberglass insulation prevents settling over time, ensuring long-term effectiveness for your attic door.
3. Cellulose Attic Door Insulation
Cellulose insulation, made from recycled paper fibers treated with fire-retardant chemicals, is an eco-friendly option for attic door insulation. It is often blown into the attic space using a specialized machine, which helps in filling gaps and providing effective insulation.
Known for its thermal performance, fire resistance, and soundproofing qualities, cellulose is a sustainable choice that utilizes recycled materials while offering excellent insulation results.
However, cellulose insulation can be prone to moisture absorption if not properly installed and maintained, which may reduce its efficiency. It often requires professional installation to ensure it achieves optimal results.
Understanding the characteristics of this type of insulation will help you make an informed decision about whether it is suited for insulating your attic door.
Tools and Accessories Needed:
You’ll need the following:
- Caulk gun and construction adhesive
- Construction adhesive
- Measuring tape
- Packing or duct tape
- Staple gun and staples
- Utility knife or saw
DIY Attic Door Insulation Methods
This step-by-step approach ensures a smooth and effective installation process for your attic insulation needs.
1. Fiberglass Insulation Technique
Follow these steps to insulate your attic door using fiberglass insulation effectively:
1. Choose fiberglass insulation for its affordability, thermal resistance, and ability to reduce heat transfer.
2. Wear protective gear to protect your skin and respiratory system during the process.
3. Measure the edges of your attic door carefully and cut the batts or rolls to size, allowing a slight overhang for better coverage.
4. Place the fiberglass facing down on the door and secure it using staples.
5. Apply adhesive-backed weather stripping around the perimeter to create a stronger seal.
6. Avoid compressing multiple layers of insulation, as this can reduce efficiency.
7. Ensure the fiberglass insulation stays dry, as exposure to moisture can weaken its performance and lead to mold growth over time.
Once properly installed, this fluffy material made of fine glass fibers will provide long-term protection, resisting fire and maintaining energy efficiency.
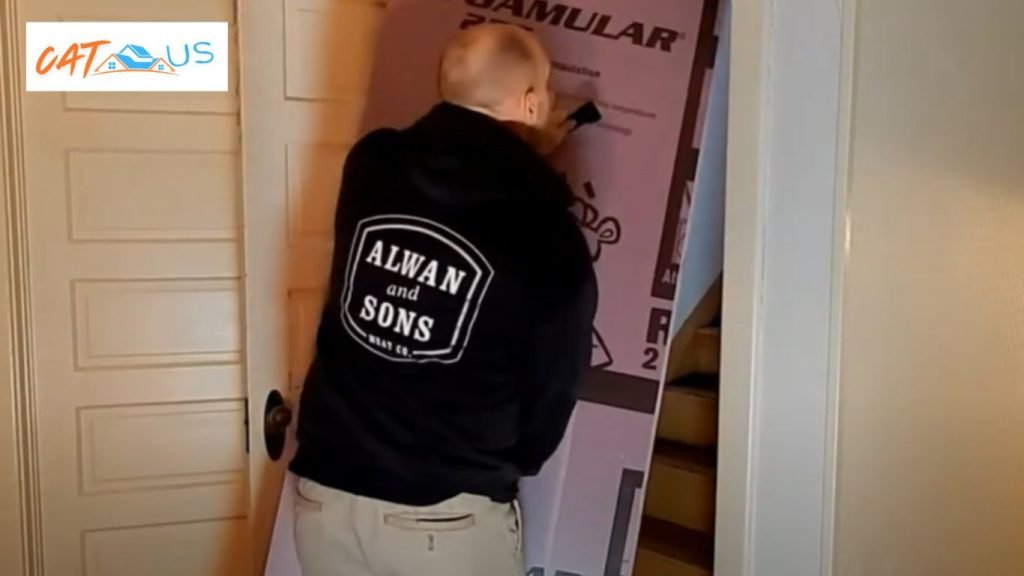
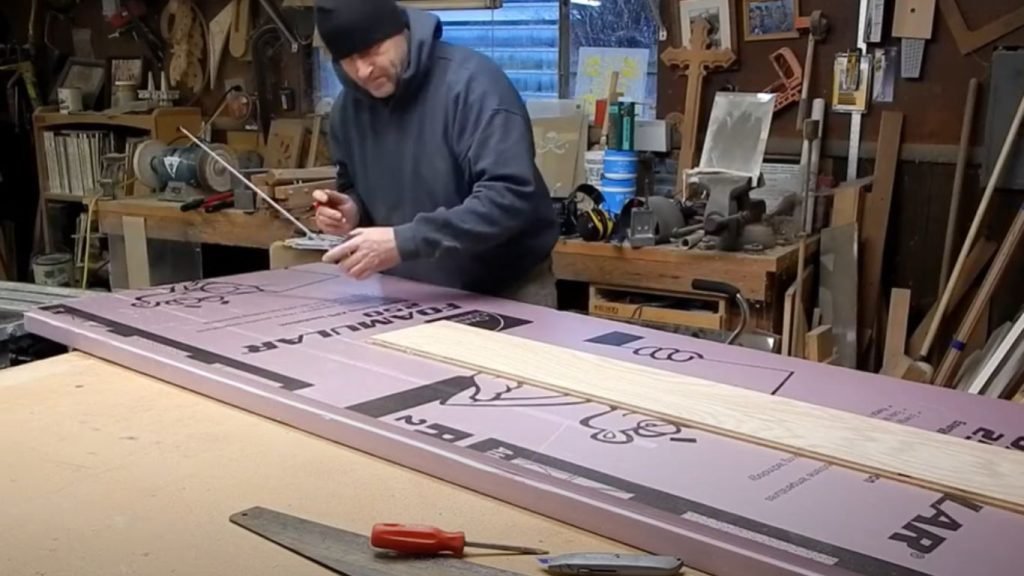
2. Rigid Foam Insulation Box Method
1. Measure the Opening. Measure the framed opening of your attic and the height of any folded stairs to ensure accurate dimensions.
2. Transfer Dimensions. Use a sheet of rigid insulation to mark the sides for the box—two long sides and two short sides.
3. Account for Stairs. If there are folded stairs, make the pieces slightly wider than the folded height to ensure they close without obstruction.
4. Assemble the Box. Assemble the box by attaching the marked pieces using construction adhesive. Reinforce the joints with tape for added strength.
5. Allow the Adhesive to Dry. Wait until the adhesive is dry before proceeding to install the box.
6. Fit the Box. Place the assembled box snugly over the attic opening, ensuring it fits securely without gaps.
7. Add Weather Stripping. Apply weather stripping to the bottom edges of the box to create an airtight seal and block drafts.
8. Seal the Edges. Use caulking around the edges for additional sealing, ensuring no air leaks remain.
This method provides excellent thermal resistance, prevents drafts, and improves energy efficiency, making it a highly durable and effective solution for insulating your attic door. If you want to learn more about choosing the best material for your attic, check out our guide: Which is the Best Attic Insulation.
Benefits of Attic Door Insulation
Installing attic door insulation creates a barrier that minimizes heat transfer, effectively reducing energy use throughout the year. By sealing gaps and cracks, it prevents air leakage and drafts while keeping your home cool in summer and warm in winter.
Insulation ensures a consistent indoor temperature, improving the overall comfort of your house. For me, adding insulation not only eliminated cold spots in winter but also made the upper floor cooler during hot months, making the space more enjoyable.
The airtightness provided by insulation reduces the infiltration of outside air, improving indoor air quality significantly. This can be a game-changer, as it prevents warm, moist air from entering the attic, thereby reducing condensation risks. This also helps to avoid mold growth and potential structural damage over time. Such a sturdy solution contributes to better well-being, including improved sleep and overall productivity.
From an energy efficiency perspective, insulation supports the HVAC system to operate efficiently, saving money in the long run. It’s a cost-effective investment that offers both immediate benefits and long-term savings. Additionally, it aligns with environmental sustainability goals by reducing energy consumption. With insulation improving the value and comfort of your home, it remains one of the most practical upgrades for any homeowner.
Conclusion:
Choosing the right insulation for your attic door is essential for creating an energy-efficient and comfortable living environment. Whether you opt for R-49 or R-60, these levels provide optimal energy efficiency by reducing heat loss and maintaining consistent indoor temperatures.
At Catus Attic Insulation, we recommend R-60 because insulation often settles over time, especially in older homes where air sealing issues can arise. Proper insulation can protect against moisture-related issues, drafts, and heat transfer, ensuring your home remains a cozy retreat.
The cost of insulation (Attic insulation Cost Per Square Foot) varies based on type, square footage, and the structure of your home. For example, cellulose or fiberglass insulation typically ranges from $1.90 to $2.50 per sq. ft., while closed-cell foam can cost between $3.50 to $7, depending on the level of insulation required.
These investments, while initially expensive, lead to significant savings and improved comfort in the long term. Whether you choose a DIY approach or rely on professional experts, the key is ensuring a well-sealed and insulated barrier to maximize efficiency.
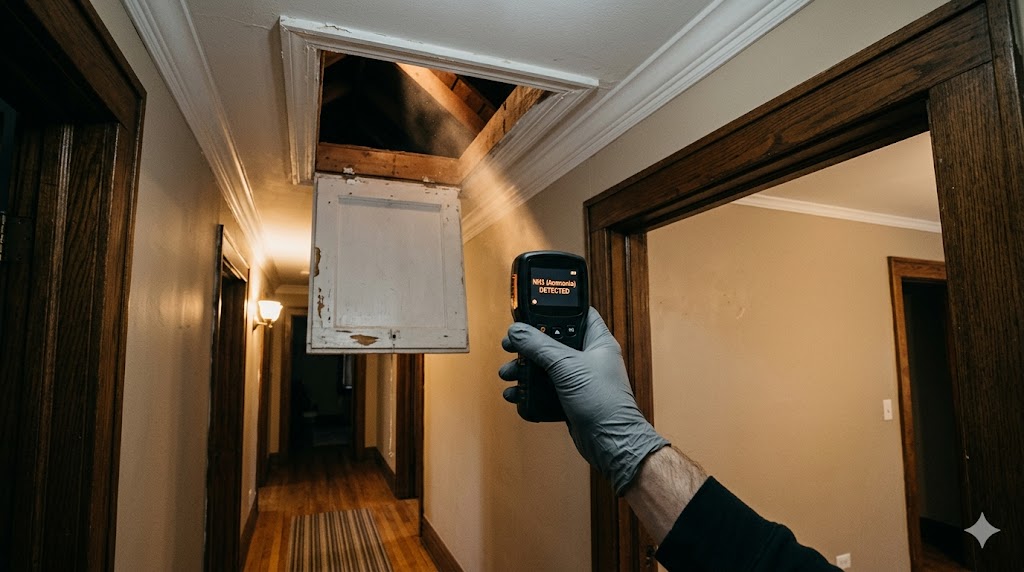
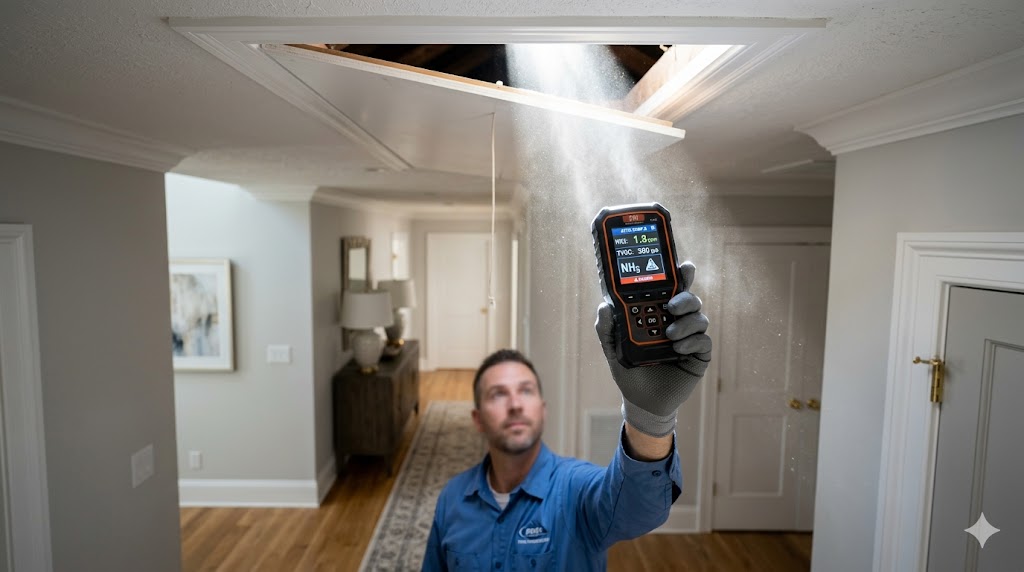
At CATUS Attic Solutions, we provide a free inspection to help homeowners make informed choices. Using tools like infrared cameras, we identify air leaks, mold, and ventilation issues, offering tailored solutions that suit your home’s construction and needs.
Trust our team to deliver a system that keeps your home comfortable, energy-efficient, and well-protected for years to come.