


Knee walls are those short, often-neglected vertical walls in attic spaces— they might seem like minor architectural details, but they can be major culprits behind energy loss, chilly drafts, and skyrocketing heating bills. If your home feels drafty no matter how high you crank the thermostat, poorly insulated knee walls could be the hidden isue.
Fortunately, insulating knee walls is remarkably effective at sealing in warmth and slashing energy costs. Whether you’re DIY enthusiast or considering professional help, this guide will walk you through the best methods, common pitfalls, and expert-backed strategies to ensure your home stays cozy all winter long.
For a deeper dive into the science behind knee wall insulation, Read our post carefully, You’ll get all your solutions here –
Why Insulating Knee Walls Matters More Than You Think
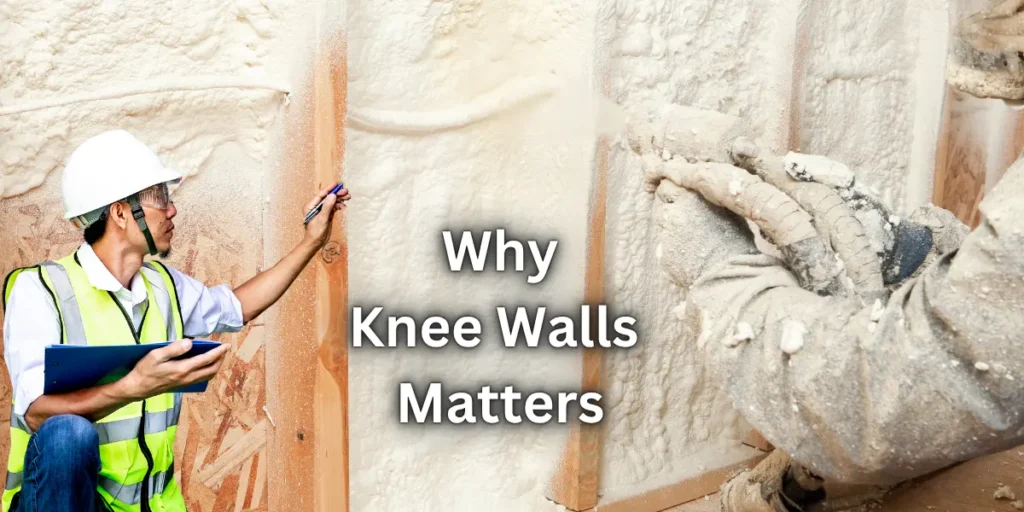
Knee walls, typically found in finished attics or cape cod-style homes, separate conditioned living spaces from unfinished attic areas.
Because they’re often overlooked, they become thermal weak points, allowing heat to escape and cold air to seep in. The result? A home that’s:
- Drafty and uncomfortable
- Expensive to heat (up to 20% higher energy bills, according to the U.S. Department of Energy)
- Prone to moisture buildup, which can lead to mold and structural damage
By properly insulating knee walls, you can:
✔ Dramatically improve indoor comfort
✔ Lower energy bills
✔ Prevent moisture-related damage
“I remember one of our client’s case in 2018 Texas, Cape Cod-style home. Where we noticed their upstairs bedroom stayed icy cold in winters—even after upgrading the central heating system.
After a quick attic inspection, we discovered the knee walls had no insulation at all. And the people who were responsible for insulating their house included insulating the attic as well, but they didn’t insulate it properly and their bedroom was very cold because of the air gap.
With just $250 worth of fiberglass batts and a weekend of DIY effort, We sealed air leaks, installed insulation between the studs, and added baffles for ventilation. The result? A 7°C increase in room temperature during winter nights and a 15% drop in their next electricity bill.”
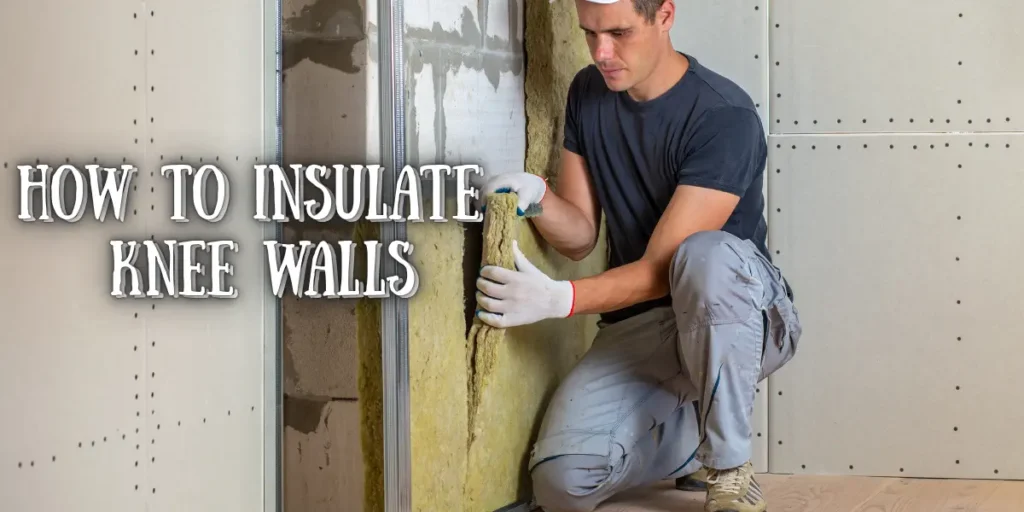
Step-by-Step: How to Insulate Knee Walls Like a Pro
1. Choose the Right Insulation Material
Not all insulation is created equal. The best options for knee walls include:
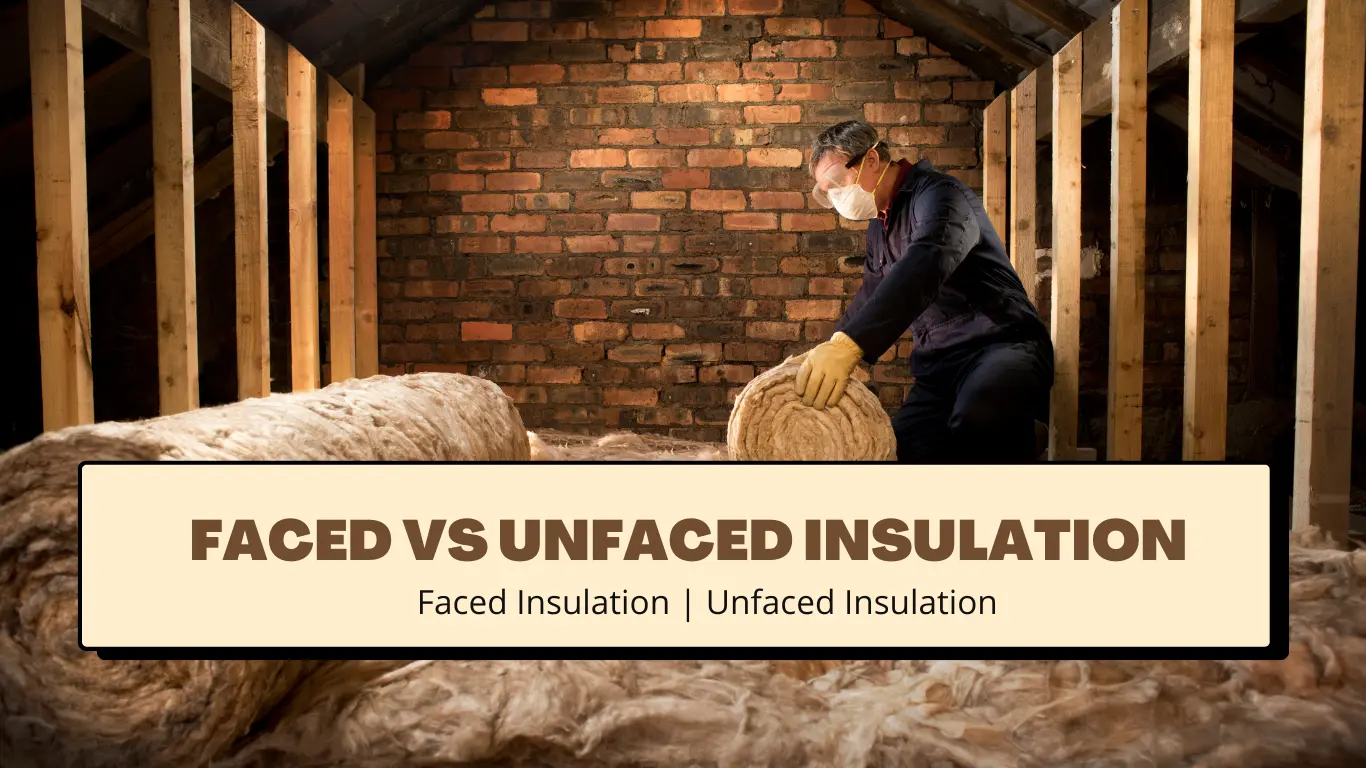
- Fiberglass batts (affordable and easy to install)
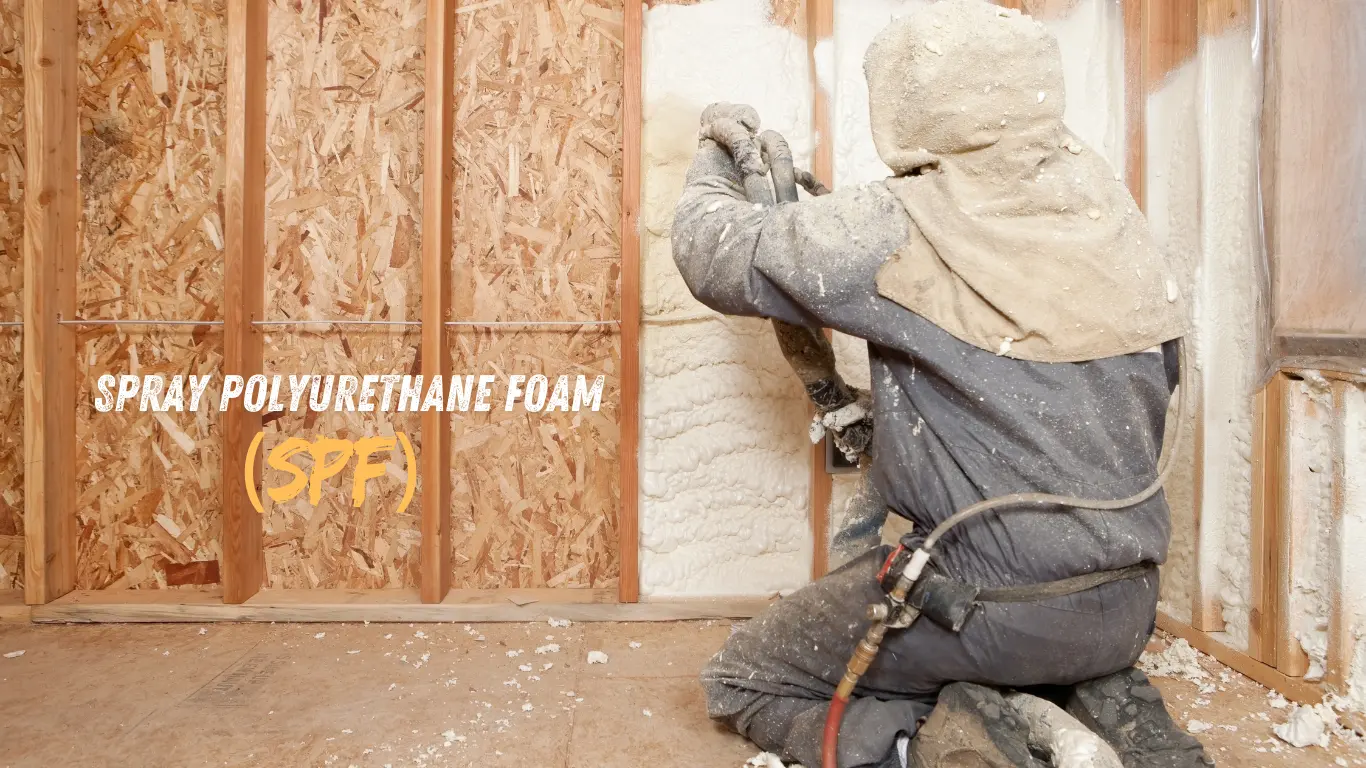
- Spray foam (superior air sealing but pricier)
- Rigid foam boards (great for adding extra R-value)
Expert Tip: CATUS recommends using a combination of spray foam and fiberglass for optimal thermal performance.2. Seal Air Leaks First
Before adding insulation, caulk or foam any gaps around wiring, pipes, or framing. Even the best insulation won’t work if air is sneaking through cracks.
3. Install Insulation Correctly
- Fiberglass batts should fit snugly between studs without compression.
- Spray foam should be applied evenly to fill all cavities.
- Rigid foam can be cut to size and secured with adhesive.
Pro Insight: Fine Homebuilding highlights two effective knee wall insulation techniques, including the "attic-side" approach for maximum efficiency.Most homeowners don’t realize knee walls act like open windows in your attic,” says CATUS, a certified Eco-Friendly HOME Insulation CONTRACTOR based in Chicago.
“Even R-30 insulation won’t perform well if you skip air sealing or forget to manage moisture. We always recommend a hybrid method: seal gaps first, then insulate using a mix of spray foam and batts for maximum comfort and ROI.
4. Don’t Forget Ventilation
Trapped moisture can rot wood and degrade insulation. Ensure proper airflow by:
- Installing baffles to keep insulation away from roof sheathing
- Adding vents if necessary
Common Mistakes to Avoid
🚫 Compressing insulation (reduces effectiveness)
🚫 Ignoring air sealing (renders insulation useless)
🚫 Blocking ventilation (leads to moisture problems)
For DIY troubleshooting, this StackExchange thread offers real-world solutions.
Final Thoughts: A Small Fix with Big Benefits
Insulating knee walls might not be glamorous, but it’s one of the smartest, most cost-effective upgrades you can make for home comfort and energy efficiency. Whether you tackle it yourself or hire a pro, the payoff—lower bills, fewer drafts, and a healthier home—is undeniable.
Ready to stop the drafts for good? Start with these expert-backed strategies and enjoy a cozier, more efficient home this winter.